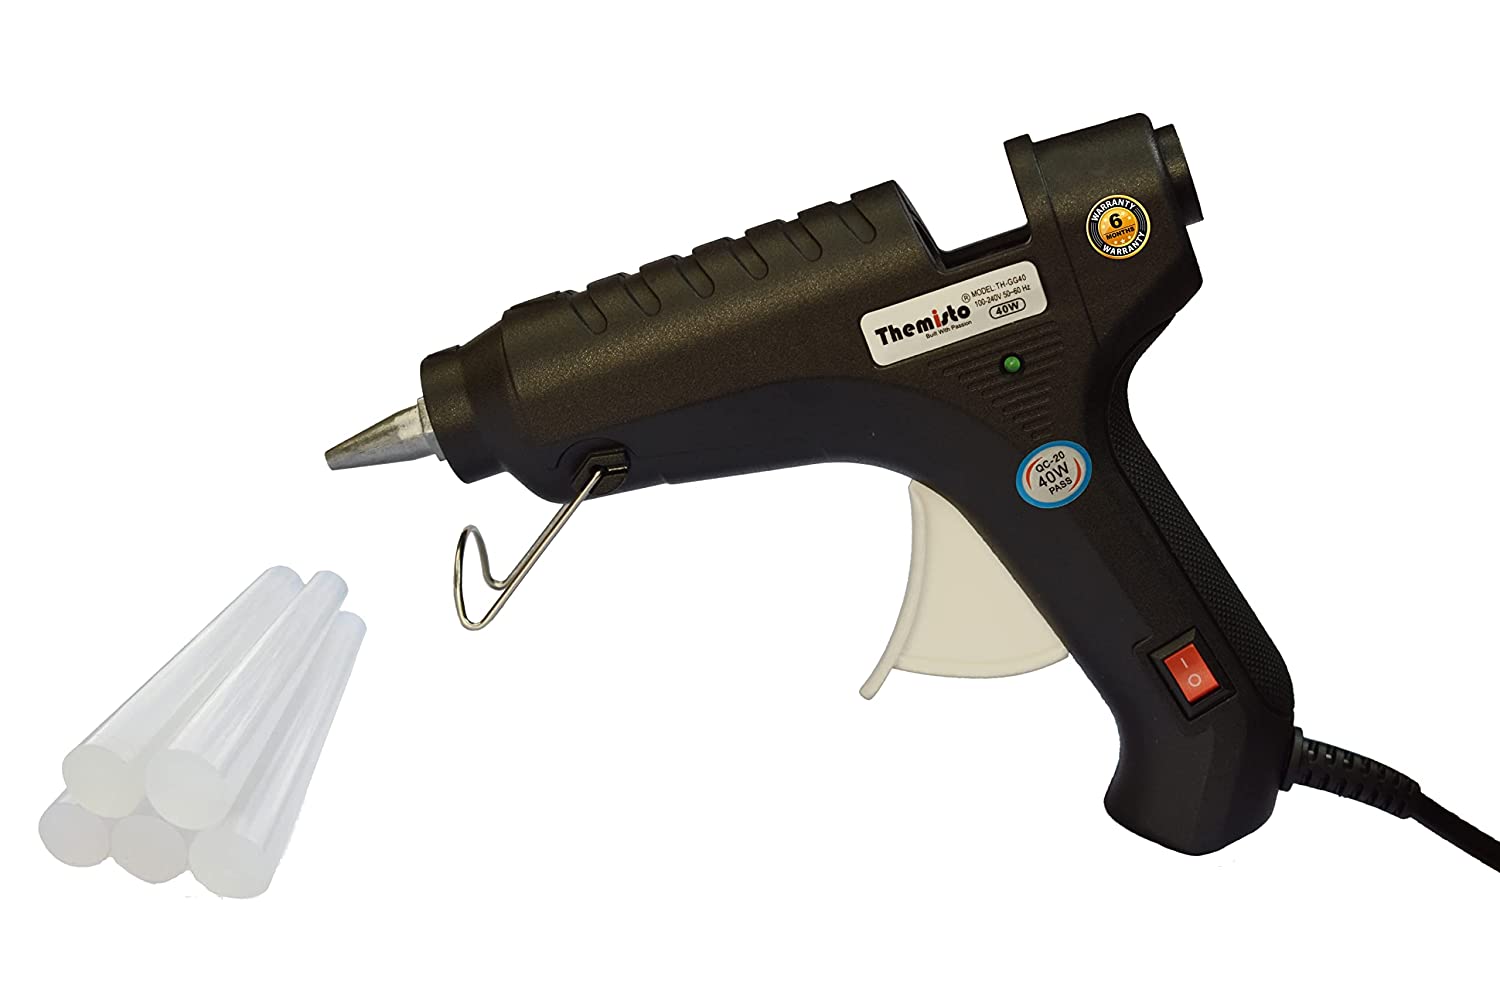
Hot glue guns are one of the most versatile tools available for crafting, DIY projects, repairs, and more. Whether you’re making a model house, fixing furniture, or decorating an arts and crafts project, hot glue is a great option. But how do you use it? In this article, we’ll break down the basics of hot glue gunsusage – from selecting the right type to mastering the art of application.
What Type of Glue Gun Should You Use?
The first decision you’ll need to make before using a hot glue gun is which type to use. There are two varieties available – low temperature and high temperature. Low-temperature glue guns are better suited for lighter materials such as paper, fabric, foam board, ribbon, lightweight plastic pieces, dried flowers, felt pieces and more. High-temperature glue guns are ideal for heavier materials such as wood or metal. They heat up faster than low-temperature guns but can be too hot for thin plastic components or delicate fabrics. If in doubt about which type to choose for your project – go with a low-temperature gun as it has a wider range of uses than its high-temperature counterpart.
How To Use A Hot Glue Gun Safely
Safety is paramount when using any tool at home – especially one that will be used near exposed wires or close to skin (like hands). When using a hot glue gun always make sure you have adult supervision if you’re under 18 years old and wear protective gloves to avoid burning yourself on the heated nozzle. It’s also important to make sure that you’re working on a stable surface that won’t move while you’re applying the glue. This will help ensure that your project remains secure while working with it. Additionally – always place your hot glue gun on its stand once it’s not in use so that it won’t accidentally touch anything else while still heated up!
When Working With A Hot Glue Gun
Before beginning your project with a hot glue gun make sure all pieces are clean and dry – this will ensure that the adhesive sticks properly without any bumps or creases along the way (which could mess up your design). When ready – plug in your hot glue gun and wait until it heats up completely (this may take up to 5 minutes depending on the model) before adding adhesive sticks into the designated area at the back of the device (usually labelled “hot melt”). Make sure to apply pressure onto each stick as they may become lodged inside if not pushed firmly enough into place! Once done – press down on either side of the trigger located on top of the handle until adhesive comes out from nozzle – then start gluing away! Just remember not to pull away too quickly after applying pressure onto surfaces as this might cause them to come apart again later on due to lack of proper adhesion time between surfaces!
Using a hot glue gun is an easy way to add creative touches or repair broken items around your home without having to purchase expensive equipment or call in professional services. From crafting models out of cardboard boxes to repairing furniture around your house – there really isn’t much that can’t be done with just some adhesive sticks and patience! Just remember these tips when getting started – select appropriate type based off material being used; wear protective gloves; work on stable surface; clean/dry all parts prior; press firmly onto each stick before inserting into back chamber; wait until heated before starting application process; don’t pull away too quickly after pressing down onto surfaces! With these pointers in mind – you’ll be well equipped with all necessary skills required when tackling any sort of crafty project with just one simple tool – a trusty hot glue gun!
